The Day I First Said Hello to My Raspberry Pi 4
After seeing a Raspberry Pi in action 3 years ago, I finally took the plunge myself in the AI era. Documenting my first steps — from OS setup to SSH configuration.
My First Encounter with Raspberry Pi, 3 Years Ago
The first time I ever laid eyes on a Raspberry Pi was about three years ago. At the time, my company had outsourced the development of a piece of equipment, and when it was delivered, the core computer inside turned out to be a Raspberry Pi. The fact that this tiny board — no bigger than a credit card — was actually running industrial equipment was genuinely shocking.
But back then, Raspberry Pi felt like "someone else's territory." Having spent my career focused on web services, I'd heard of Arduino and Raspberry Pi, but always assumed they were "things for people with electrical or mechanical engineering degrees."
AI Lowered the Bar for Taking the Leap
Honestly, if AI hadn't come along, I probably would have never changed that mindset.
But the AI era arrived and changed everything. With AI supporting everything from C and C++ to Python coding on Raspberry Pi, I developed real confidence that I could build what I wanted. Even without being a specialist, basic knowledge plus AI assistance would be enough — that was my assessment.
And so the challenge began.
Buying a Raspberry Pi 4 — and Getting a Price Shock
The first thing that surprised me after purchasing a Raspberry Pi 4 was the price. I remember it not being that expensive when my company outsourced that project three years ago, but now the 4GB model was selling for around 150,000 Korean won (roughly $110-120 USD).
"If I'd known prices would go up like this, I would have stockpiled more units at the company back then..."
There's a twinge of regret about the development costs we could have saved, but I'm grateful that now I can take on this challenge myself with AI's help.
Initial Setup: From OS Installation to SSH Configuration
The first thing I did after unboxing the Raspberry Pi 4 was install the operating system. Here's a quick summary of the steps:
- Prepare the SD card — Got a 32GB microSD card ready
- Download Raspberry Pi Imager — Used the official imager tool to flash the OS image to the SD card
- Enable SSH — Pre-enabled SSH during the imager configuration step
- Boot and update — Ran system updates after the first boot
I want to especially highlight the SSH setup. With SSH enabled, you can work on the Raspberry Pi remotely from your laptop or another computer without needing to connect a separate monitor. It's a huge boost to development efficiency.
What a Convenient Era We Live In
While going through the setup, something struck me.
Back in the Windows 95 and XP days, just connecting a single peripheral required hunting down and installing the matching driver. In an age when internet searches were limited, the despair of losing a driver CD is something I still remember vividly.
Now, you plug a USB device into a Raspberry Pi and it's automatically recognized. Even small things like this remind you how far technology has come.
Raspberry Pi OS is new territory for me, so there's a bit of a learning curve, but it provides a GUI environment out of the box, so getting comfortable shouldn't take long.
The Plan Going Forward: Building Up From the Basics
Here's where the real work begins. Time to dive into the programming needed for the device development I have in mind.
There are two major areas I need to focus on:
- Python coding — The most widely used language on Raspberry Pi, and ideal for working alongside AI
- Electrical and electronics fundamentals — Essential knowledge for GPIO pin control, sensor connections, and working with hardware
Even with AI assistance, without these foundational skills you can't make proper requests, and you can't understand AI's output well enough to take the next step. The idea that "AI will handle everything" is dangerous. Without the basics, you can't even make use of AI's answers.
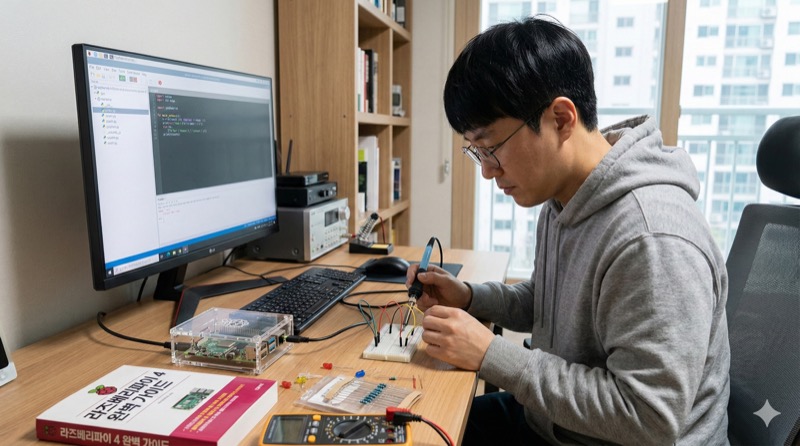
For the next week or so, I plan to read through relevant books and work through simple examples one by one. Starting with lighting up a single LED, and gradually expanding from there.
Even someone outside the field can tackle hardware development with AI as a partner. Meeting the Raspberry Pi 4 was my first step.